I recently completed a custom bed that had two rosettes carved on the top of each post. I took some pictures to document the process that I will share here. The process appears fairly simple but the overall shape offers some challenges.
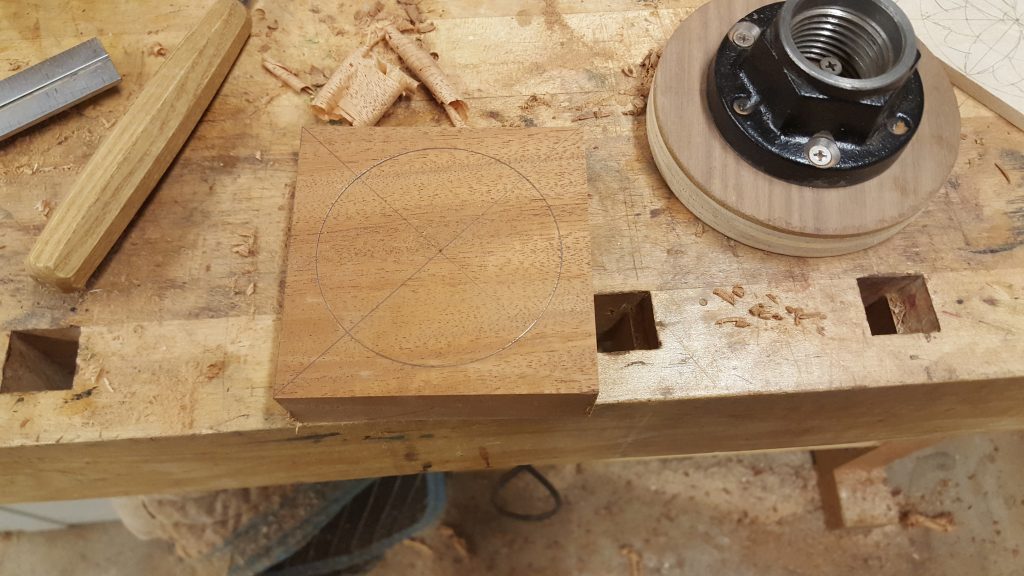
I select a nice piece of mahogany and the center point and circle is marked out. A small faceplate for my lathe is on the top right of the photo. The mahogany is band sawn out to a rough circle and then a small screw attaches the block of mahogany to the faceplate.
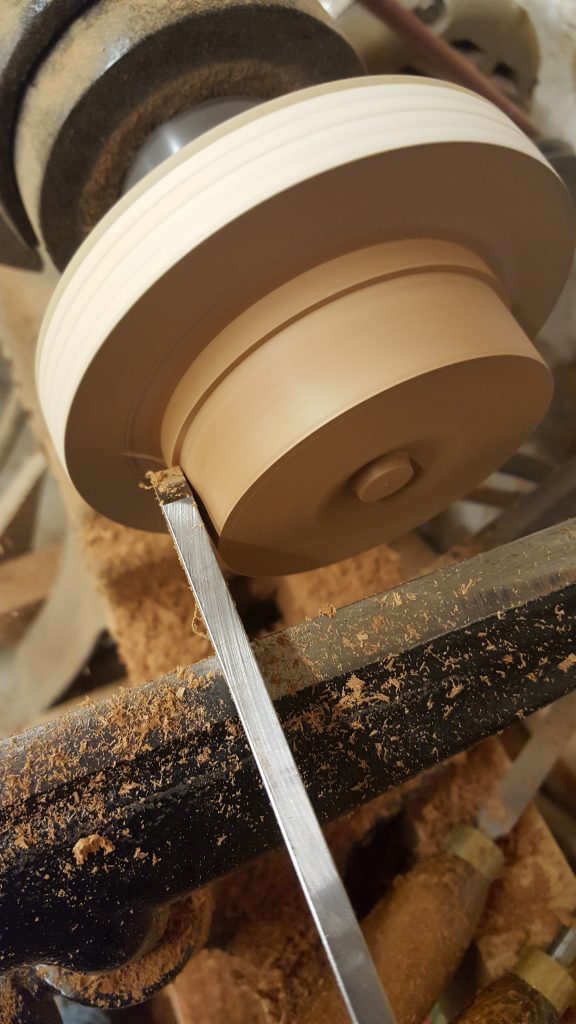
This is actually an action shot while on the lathe- right hand on the tool, left hand with the camera. This picture also shows the center of the flower partially defined.
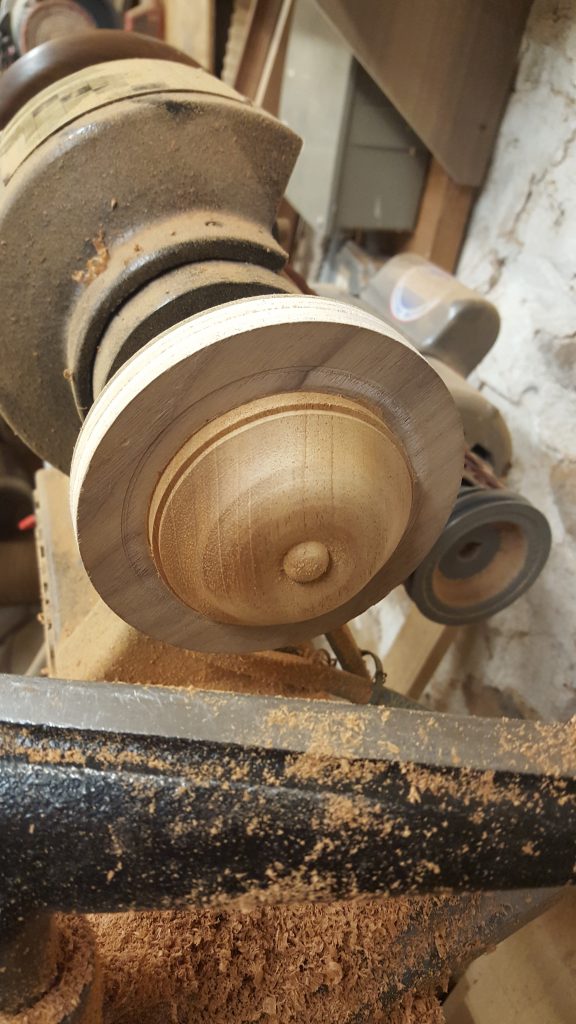 The final overall shape prior to any carving.
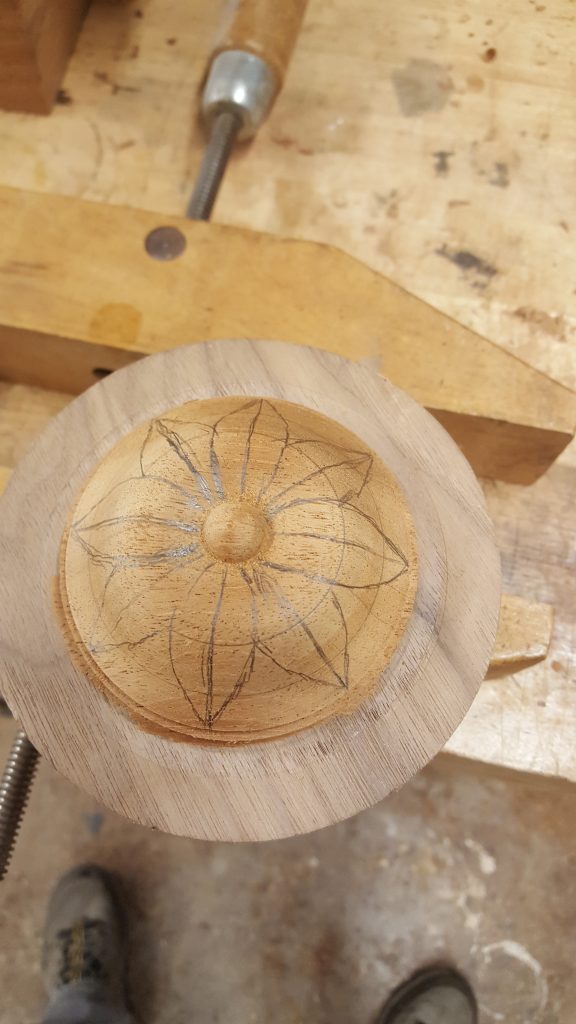 I roughly draw out the flower shapes. With no flat or square corners to easily mark 90 degrees and 45 degrees, I use a pair of dividers to equally mark off the flower tips on the outer edge. A circle defines where the leaves intersect.
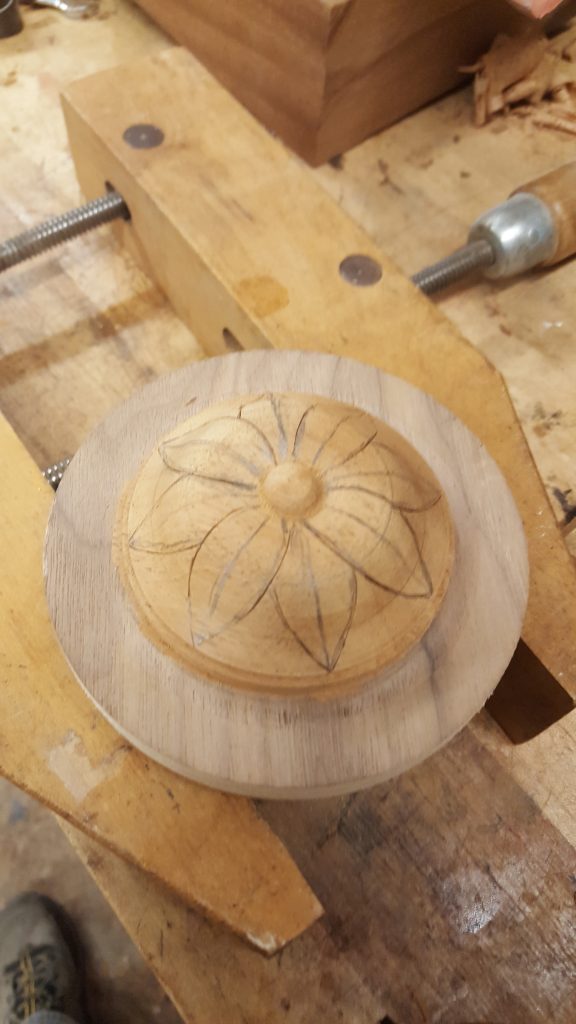 This picture shows some rough marks from a carving tool. The shape of the leaves is dictated by the sweep or curve of the carving tool. Essentially a “stab” type cut. The overall curve of the wood poses a challenge. The cuts need to be “rocked” to follow the contour. These first stab cuts do not set the final overall shape of the leaf- they are slightly larger. In certain sections there is very delicate grain that could easily chip out.
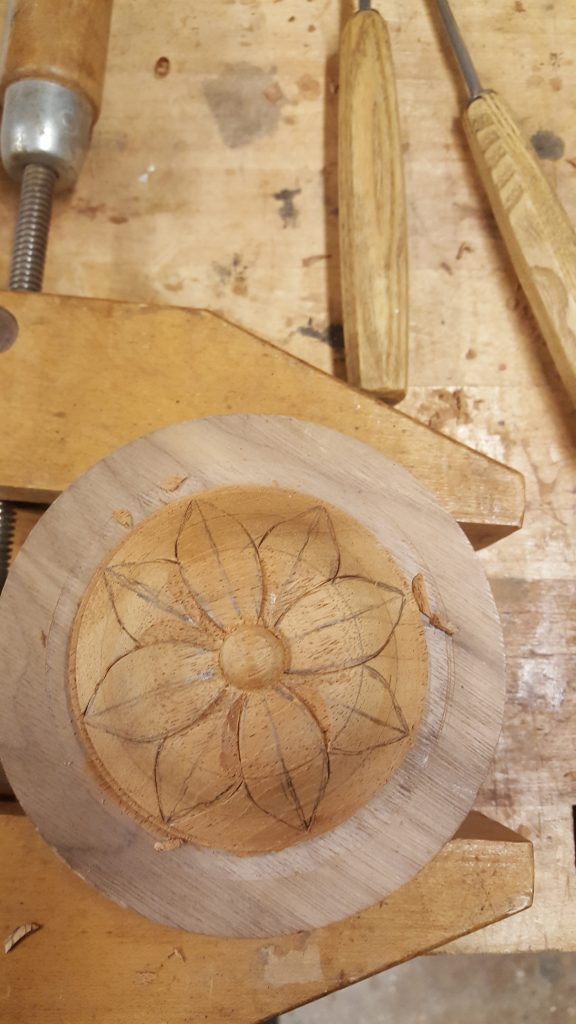 Starting to define the high and low spots toward the center of the flower.
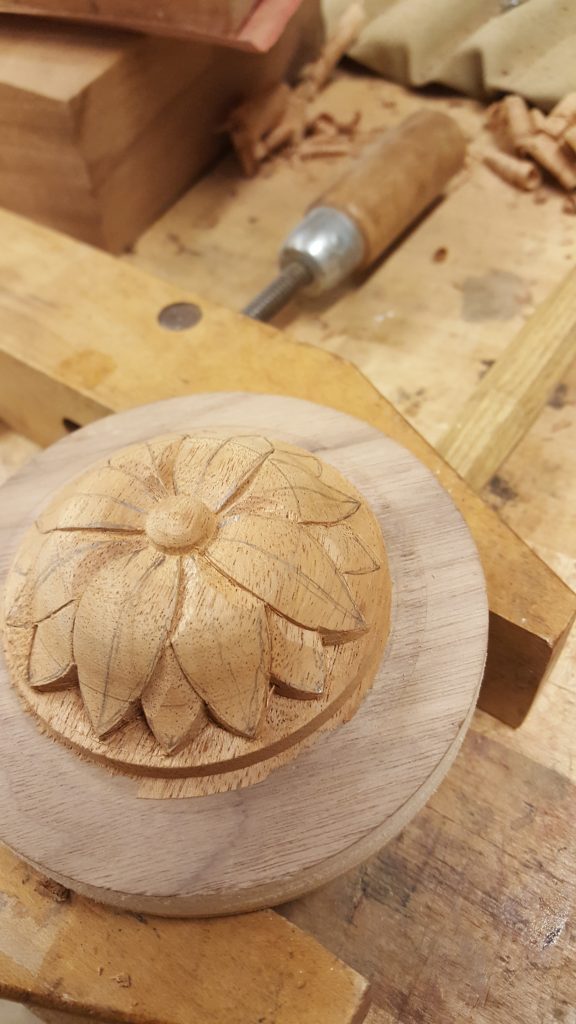 I’m still removing the bulk of the waste here.
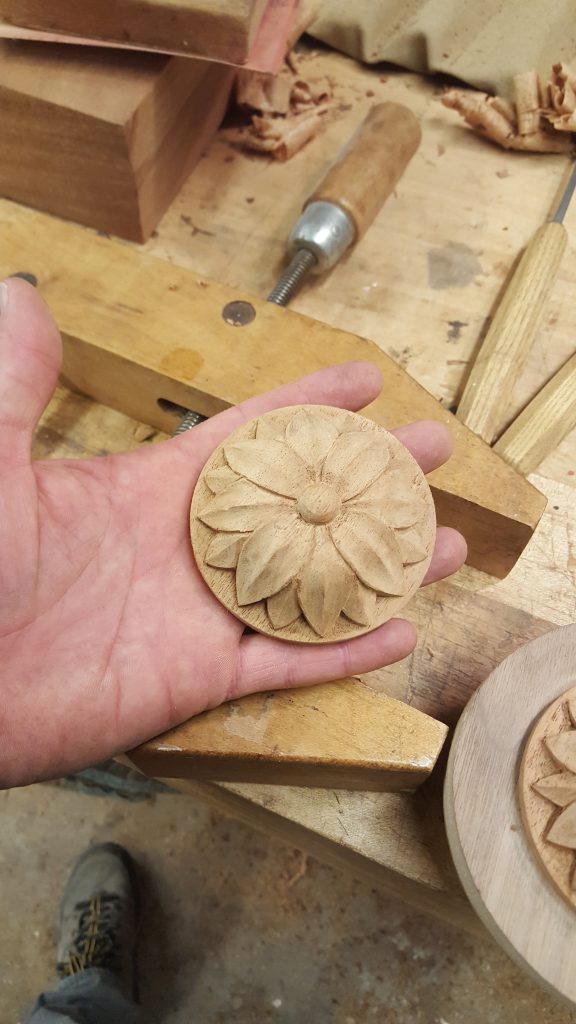 This is the first “practice/layout” flower that I did. Its still a bit rough in spots.
I think the entire flower is carved with maybe two or three tools. There is quite a bit more that goes into caving this rosette- grain direction and cutting “down hill,” carving stance, how to hold the tool both right and left handed etc. A video would have been much more informational so maybe next time…..
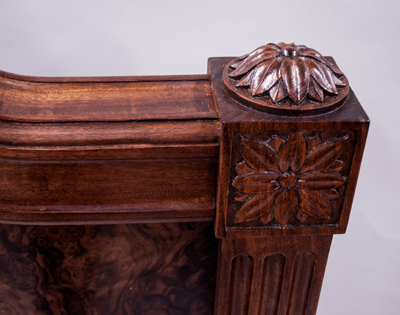 The final rosette with color and finish.
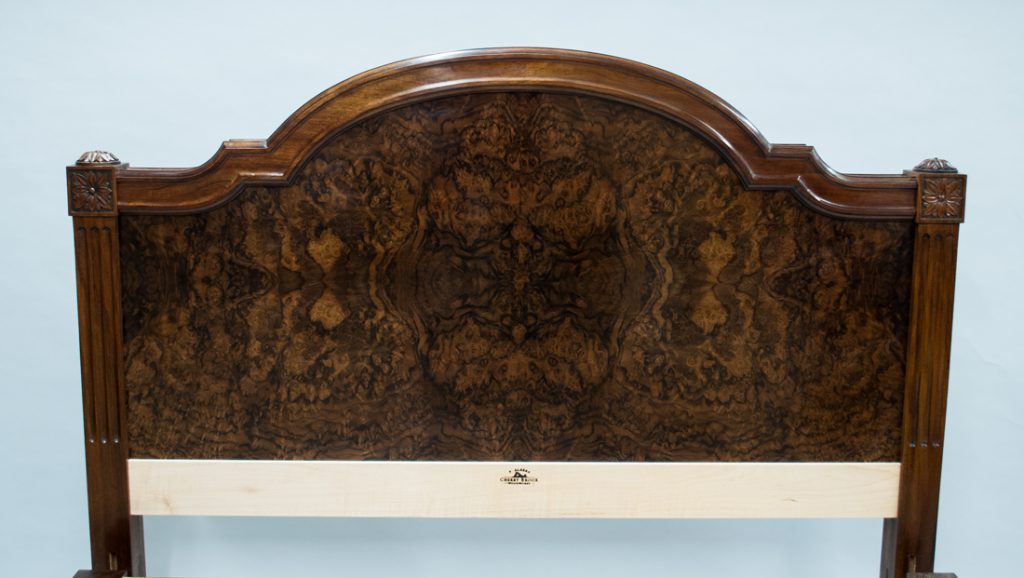
custom bed louis XVI